Do you watch movies? Have you always loved the way how Computers in movies welcome their users by calling out their names? I bet that you too would want to know how you can achieve similar results on your PC and have a computer said welcome.
Then you are at the right place, this article describes exactly how you can make your computer welcome you like this.
With this trick, you can make your Computer welcome you in its computerized voice. You can make your Windows based computer say "Welcome to your PC, Username."
Make Windows Greet you with a Custom Voice Message at Startup
To use this trick, follow the instructions given below:-
- Click on Start. Navigate to All Programs, Accessories and Notepad.
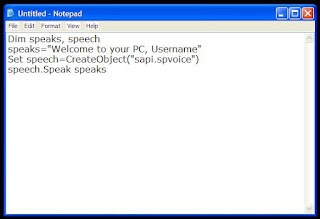
- Copy and paste the exact code given below.
Dim speaks, speech3. Replace Username with your own name.
speaks="Welcome to your PC, Username"
Set speech=CreateObject("sapi.spvoice")
speech.Speak speaks
4. Click on File Menu, Save As, select All Types in Save as Type option, and save the file as Welcome.vbs or "*.vbs".
5. Copy the saved file.
6. Navigate to C:\Documents and Settings\All Users\Start Menu\Programs\Startup (in Windows XP) and to C:\Users\ {User-Name}\AppData\Roaming\Microsoft\Windows\Start Menu\Programs\Startup (in Windows 8, Windows 7 and Windows Vista) if C: is your System drive. AppData is a hidden folder. So, you will need to select showing hidden folders in Folder options to locate it.
7. Paste the file.
Now when the next time you start your computer, Windows will welcome you in its own computerized voice.
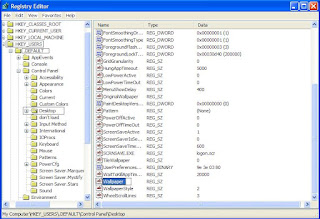
Note: For best results, it is recommended to change sound scheme to No Sounds.
You can change the sound scheme to No Sounds by following the steps given below:-
- Go to Control Panel.
- Then click on Switch to Classic View.
- Then Click on Sounds and Audio Devices.
- Then Click on the Sounds Tab.
- Select No Sounds from the Sound Scheme option.
- If you wish to save your Previous Sound Scheme, you can save it by clicking Yes in the popup menu.
- Click on OK.

Try it yourself to see how it works. In my personal opinion, this is an excellent trick. Whenever I start my PC in front of anybody and the PC welcomes me, the fellow is left wondering how brilliant a computer do I have.